nXtRender Batch - Tutorial
The Batch render component of IRender Nxt has two distinct advantages over rendering in the standard render window. Firstly , the image is rendered outside of the SketchUp program envelope and therefore the amount of ram utilized to render is not restricted to the 1.8GB of ram used by SketchUp. In larger\complex models this results in much faster render times. The second and equally useful advantage is that it will produce an independent batch file (.bat) that can be started outside of SketchUp at anytime or on any computer (as long as the appropriate IRender NXT files are installed on the host machine).
Although I very rarely `farm`renders to other machines I regularly use the batch render facility to create multiple renders overnight using Windows Task Scheduler.
This quick tutorial describes how to create batch files in IRender NXT and then use windows task scheduler to time the start\save of renders without continual user input.
Contents
- 1 Step 1 - Preparing Batch Files
- 2 Step 2 - Complete Batch files
- 3 Step 3 - Repeat Process for all files
- 4 Step 4 - Check Batch Files Folder
- 5 Step 5 - Open Windows Task Scheduler
- 6 Step 6 - Create Basic Task
- 7 Step 7 - Set Parameters
- 8 Step 8 - Select batch File and File Address
- 9 Step 9 - Check Task Summary and Properties
- 10 Checklist
- 11 Testing
- 12 Running several batch renderings in a single batch file
- 13 Notes
- 14 See also
Step 1 - Preparing Batch Files
- After saving SketchUp file, open IRender nXt and select `render` tab
- Open `Settings` dialog.
- Select where you would like batch file to be placed. I usually use `Model Name` - this will produce the batch files in a folder of the same name as file in the sub-folder IRender in documents. Alternatively you can press the browse tab and select your own folder. For the purposes of the tutorial I will keep to the same name as model.
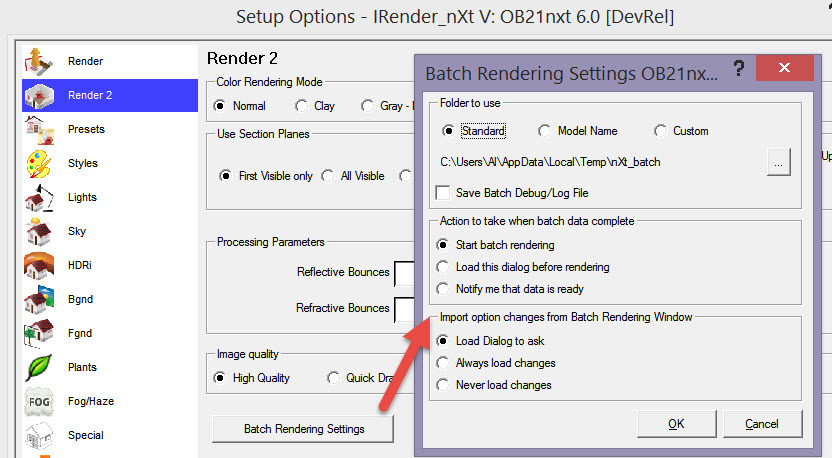
- On the image tab make sure the `Use Auto Image` and `Close window` is checked. You need both these items to make sure that at the end of each batch render the image is saved and that after the image is saved - the render window is closed to allow the next scheduled render to open. Make sure the `Prompt before Rendering` and `Notify` are unchecked - we do not want the whole process to grind to a halt by the render dialog appearing in the middle of the night and waiting for you to respond. You can select where the image should be saved. Although not listed in file type I often use uncompressed bitmap as preferred choice of file type in addition to the default JPEG and PNG-the file should save automatically if given the correct file extension (.jpeg , .png , .bmp).
- After deciding on all other render options press green render button to start batch render.
- You also need to clear the `Show End Render Dialog after Rendering` checkbox on the `More` tab.
Image:Show end render.jpg
Step 2 - Complete Batch files
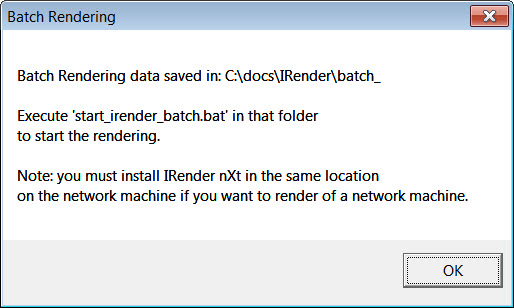
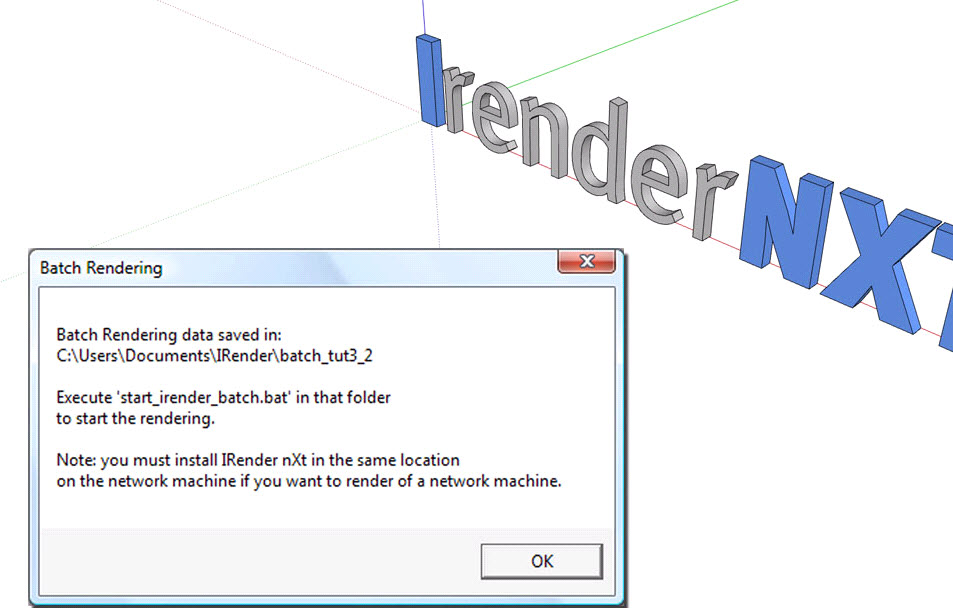
- After completing the batch process the following dialog should appear (unlike the standard renderer a render window will not appear at this stage).
Step 3 - Repeat Process for all files
- Repeat step 1 with all the files\models you wish to render - remember - if you wish to produce different views of the same model - save the views as separate files - if you re render the same file with a new view the original batch file of the same name will be overwritten - loosing the original view.
If you wish to create automated multiple views of the same model try the following tip ``One trick, to render each scene is a model, is do do an animation, and turn off page transitions. This creates one rendering per scene, and then you can set it to save the rendered scene as a .JPG or .PNG `` - Al Hart
Step 4 - Check Batch Files Folder
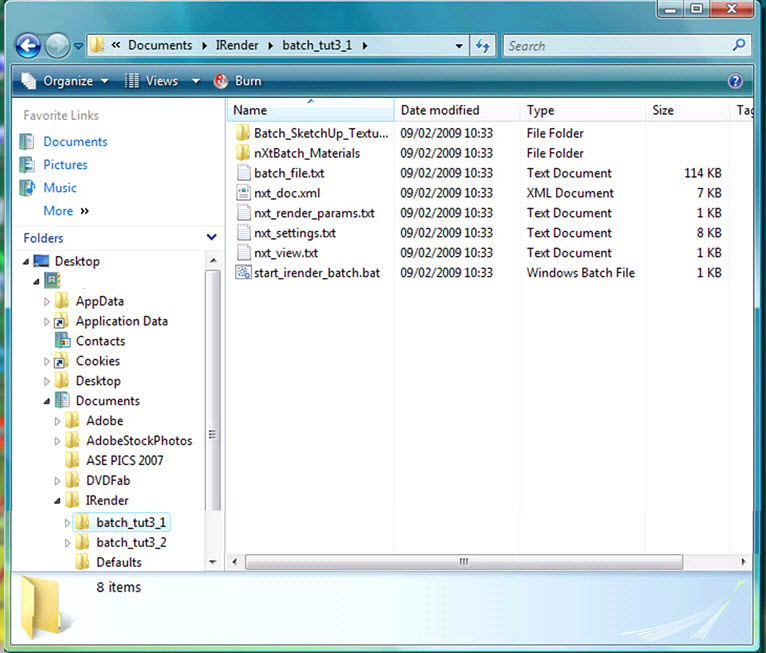
1.Using the standard `Model Name` setting - the batch renderer should have produced several folders containing the batch files in the \Documents\IRender\filename folder as per image below.
Step 5 - Open Windows Task Scheduler
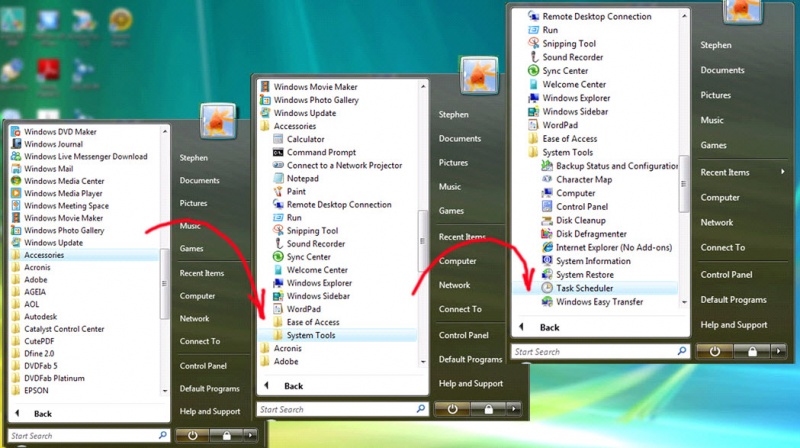
Open Windows Task Scheduler - after pressing programs click on accessories > System Tools > Task Scheduler
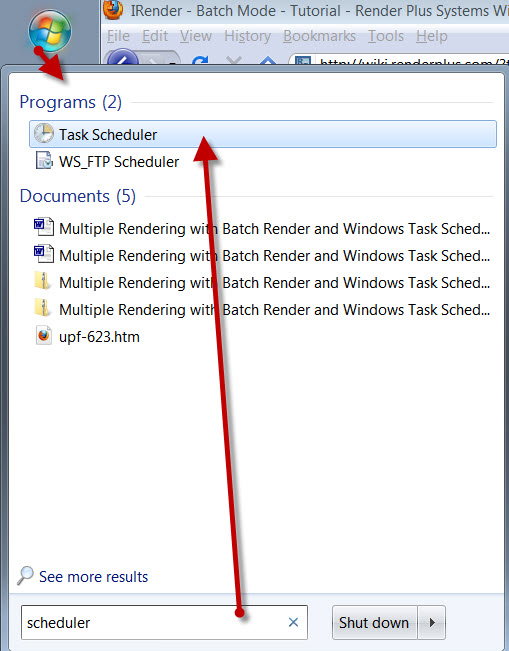
In Windows 7, you can click the Start Icon, and type in scheduler to locate it more easily.
Step 6 - Create Basic Task
1. Click on `Create Basic Task` in first window

Step 7 - Set Parameters
1. Provide a name and description to scheduled task. The names can be anything - they are more for personal reference if creating lots of tasks.
2.On the next screen select `one time`
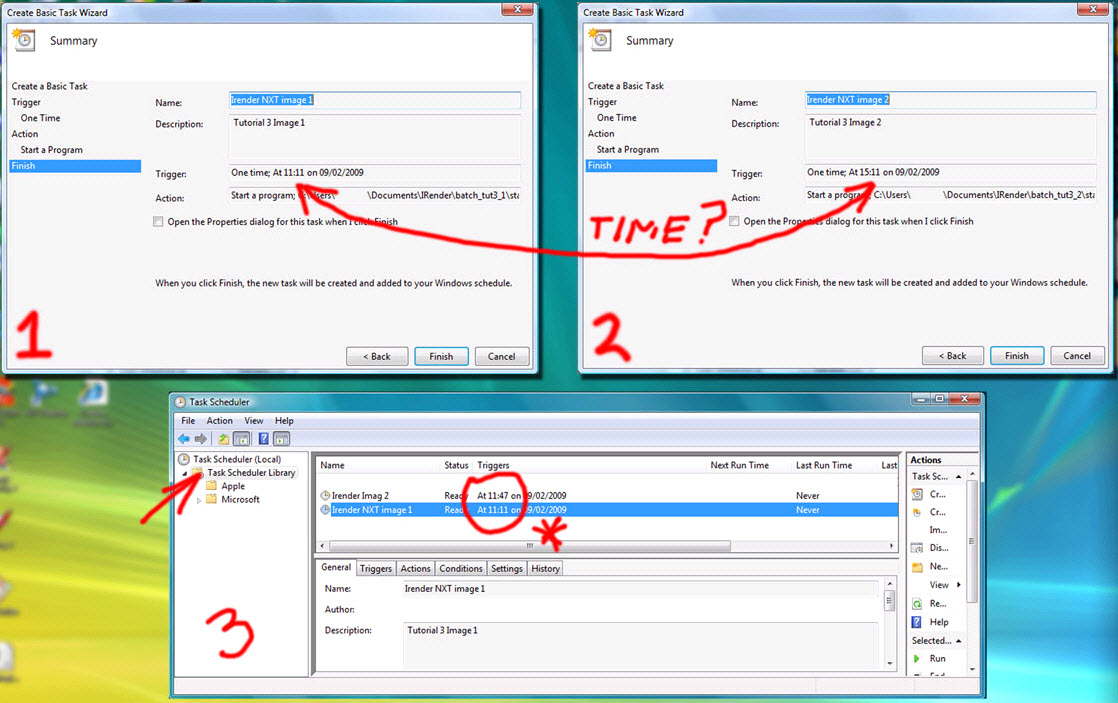
3.Select time and date of task. Time is important when creating multiple renders - you must (at the moment anyway) approximate how long each render will be (usually by experience) and allow enough time between render.(see notes at end of tutorial) The batch render process will only work one at a time - if there is any overlap the second render task will not open.
4.Select `Start a Program` option and move to next window.

Step 8 - Select batch File and File Address
1.Press the browse button and select the batch file (.bat) in model folder in IRender subfolder.
2.Copy and paste the address into the `Start in (optional) window - this is important - I have found task scheduler (certainly in Vista)will not find file without and hence not work. Only include file address - do not paste the file name itself or again the task will not complete.

Step 9 - Check Task Summary and Properties
1.When you have completed all dialogs - the summary window will appear showing relevant settings.
2.Repeat process for all the files you wish to render - *again make sure you allow enough time between tasks for render to complete.
3.You can check status of each individual task and edit accordingly by double clicking on `Task Scheduler Library`.
4. Check in task library to see if there are any other competing\conflicting tasks that may prioritize memory and make IRender Crash - i.e. virus scan.
Checklist
- Check `model name` and `notify when ready` in render settings
- Check `auto image` and `close window` in image settings
- Uncheck `Prompt before Rendering` in image settings
- Check `automatically name image` or give it a file name and extension.
- Create individual saved models for each view.
- Make sure you allow enough time in windows task scheduler between renders
- Make sure optional address of batch file is included within settings
- Check in task library to see if there are any other competing task.
Testing
The first time you try this, you might create a small model, with a short time rendering and:
- Go to the batch folder, and run the .bat file from a DOS Prompt to make sure it works properly.
- Set up the scheduler to run the process in just a few minutes to see if it works.
Running several batch renderings in a single batch file
You can create several batch folders and then run them from a new, single .bat file.
This allows you to start them all at once (one at a time), or to use the Windows scheduler to start all the batch files at once.
- Create the batch folders as in the rest of this tutorial
e.g. Create Batch folders called: c:\tmp\batch1 and c:\tmp\batch2. - Create a new .bat file. It should look like this.
cd c:\tmp\batch1 call start_irender_batch.bat
cd c:\tmp\batch2 call start_irender_batch.bat
- 3. Then start the new batch file.
- Note: Your setting for each batch file must not require users input to complete processing.
Creating .bat files
A .bat file is simply a plain text file with the file extension changed from .txt to .bat
You can use notepad, or any other Windows text editor to create or edit them.
e.g.: notepad run_all.bat
Notes
- If your are rendering overnight - make sure your screen saver is switched off (some of the newer vista savers are really power hungry and will crash IRender every time).If you are using a LCD monitor turn it off overnight to save screen burn.
- It is sometimes hard to assess render times for each individual model at present - the best way is to run the batch render manually by double clicking on batch file and seeing how long one pass takes then multiplying by the number of passes and adding some tolerance. Hopefully in the future we may be provided with an indication of render time or even our own task \batch render interface.
- On my Intel Quad based machine I find a fairly complex model of between 10 - 20 MB,3000x1600 will take approximately 2-3 hours at 40 passes with 20-30 lights .I therefore usually leave about 4 hours between scheduled renders.
- The majority of the time I only will render a couple of visuals overnight - I would therefore simplify the process by manually starting first batch render by double-clicking on batch file and then only setting the second render in task scheduler for later on in the evening.
I see this tutorial as a stop gap until the developers further enhance the Batch Render process - in the short term it may save some sleepless nights!
Boothy


