Daytime Exterior Rendering Tutorial
This tutorial is intended to help you create a rendering of a sketchup model immediately after you install iRender nXt. You will be introduced to the iRender nXt Render function and also to some iRender nXt features that can be used to alter or enhance the completed rendering of the model.
Contents
For this tutorial you will need:
To start this tutorial, download and open the Cottage Model with Sketchup.
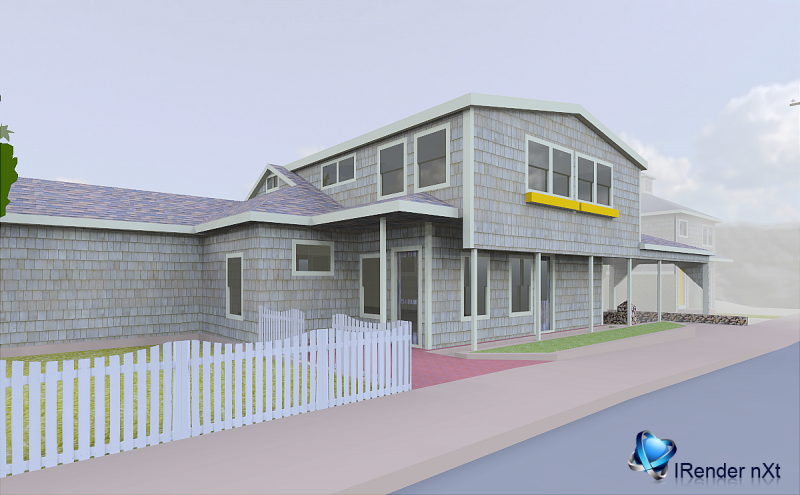
Beach Cottage with Shadows, Reflections, HDRi Sky, and Haze
The Sketchup rendering of the cottage.
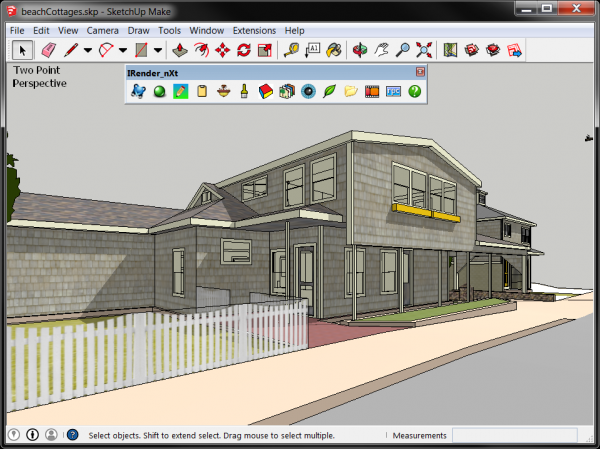
Sketchup Rendering of the cottage
Create your first IRender nXt rendering
Do This: CLICK Render
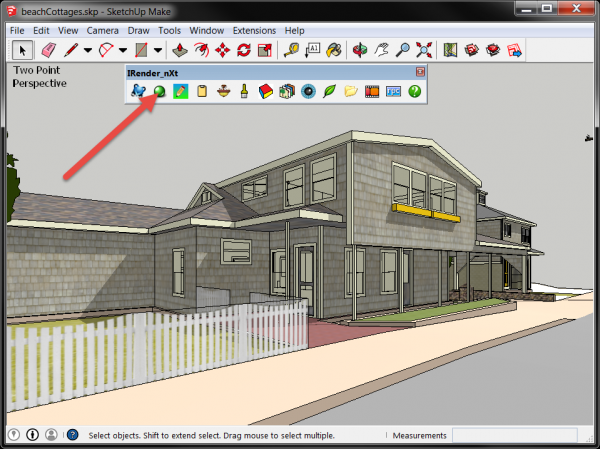
Start a new rendering
Do This: SELECT Exterior with Sun
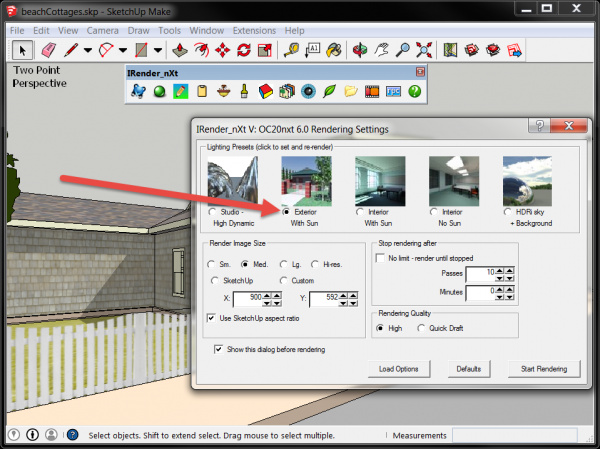
IRender nXt Rendering Settings Dialog
Do This: CLICK Start Rendering

IRender nXt Rendering Settings Dialog

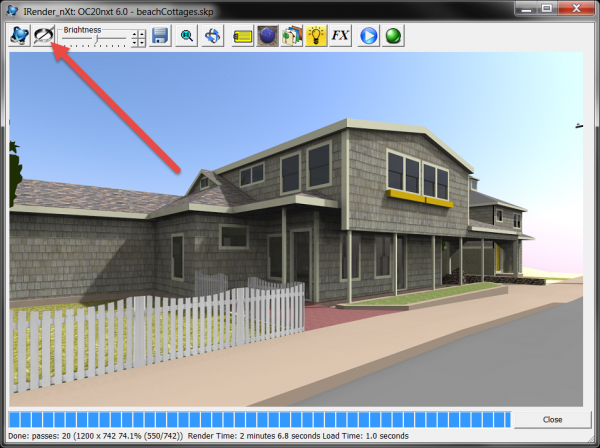
Cottage rendering with Shadows and Sketchup sky background
Adjust Rendering Brightness
It is not always necessary to create a new rendering or export the image to another program to alter or enhance your presentation. IRender nXt includes some very nice features that can be used to fine tune the completed rendering, or create variations of the rendered presentation image.
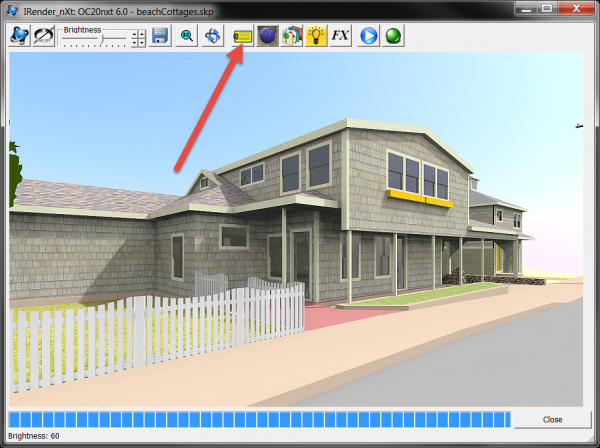
Do This: CLICK Image Filters Dialog
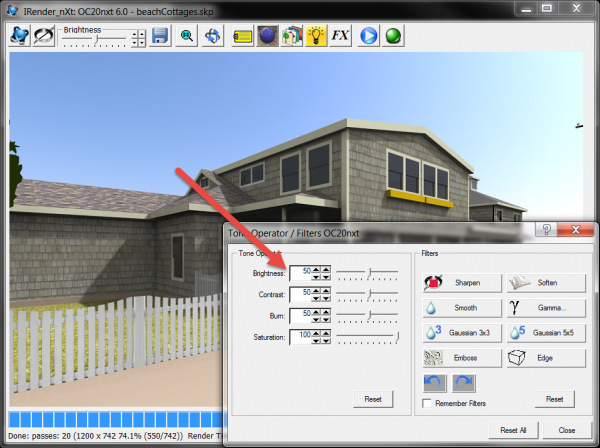
Display Image Filters Dialog
The Image Filters Dialog includes Tone and Filters features that can be used to alter and enhance the completed rendering.

IRender nXt Rendering Settings Dialog
Do This: Find the Brightness control on the dialog
IRender nXt Rendering Settings Dialog
Do This: Increase Brightness to 60
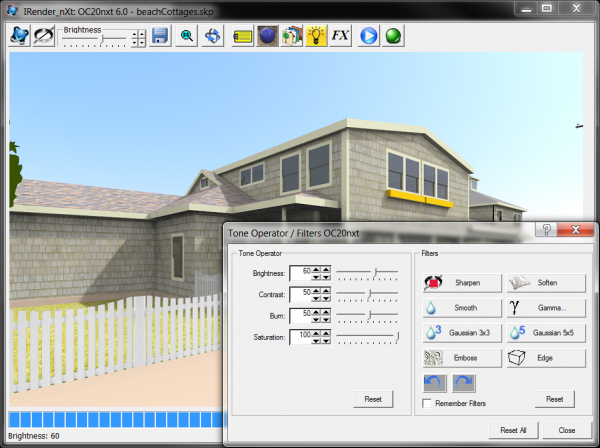
Cottage Rendering Brightened
Do This: CLICK Sharpen

Cottage Rendering Brightened
The Sharpen feature has restored details to the rendering that were suppressed with increased Brightness
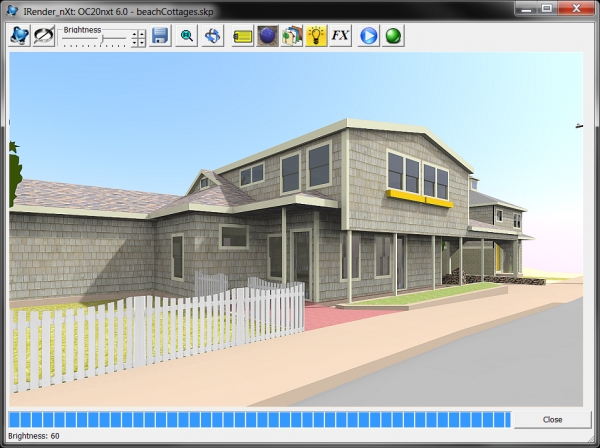
Cottage Rendering Brightened and Sharpened
High Dynamic Range image (HDRi) Sky
Do This: CLICK SETUP OPTIONS
Cottage rendering brightened and sharpened
Do This: SELECT HDRi sky +Background
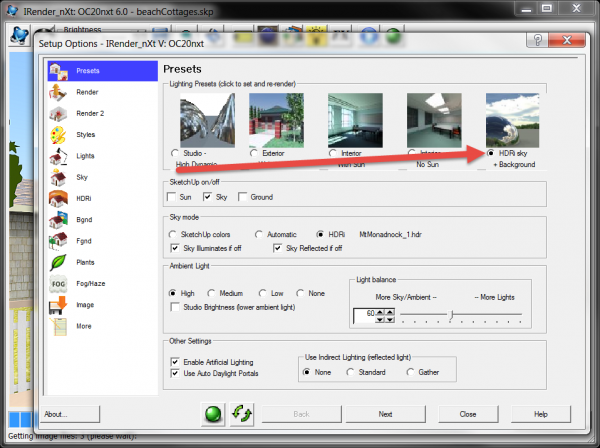
IRender nXt Setup Options (Presets)
Do This: CLICK RENDER
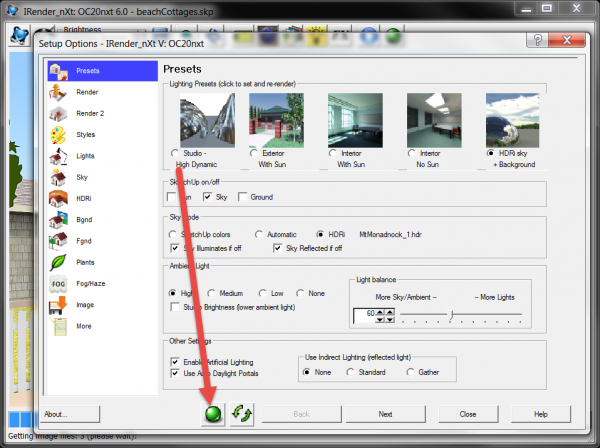
IRender nXt Setup Options (Presets)
In the new rendering the Sketchup sky has been replaced with a HDRi sky. Cloud reflections can be seen in the cottage windows
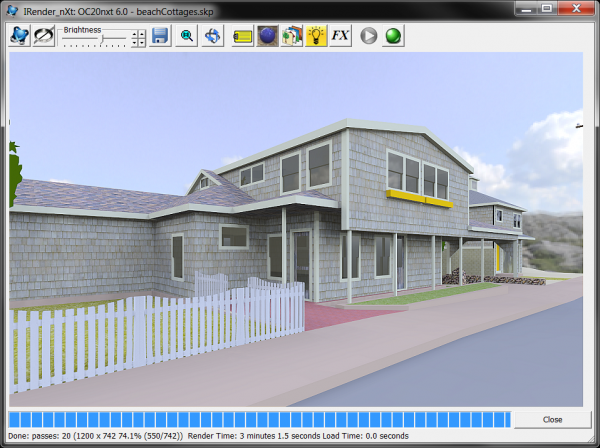
IRender nXt Rendering with HDRi sky
Add Haze
Do This: CLICK Image Effects
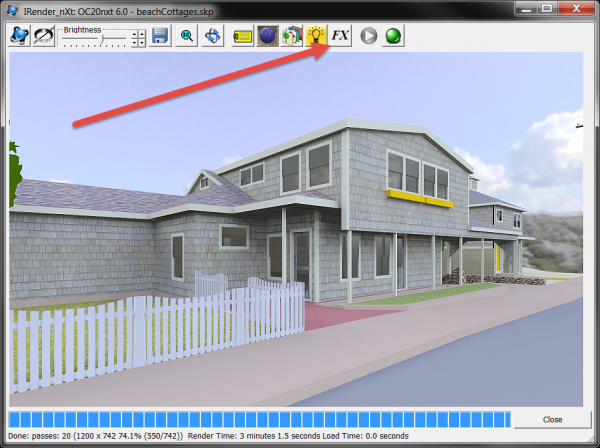
IRender nXt Rendering with HDRi sky
Using Image Effects we'll introduce Haze to the rendering, to enhance the depth of the image and add separation between our cottage and the neighboring structure
Do This: Find Near value to set Haze start distance, measured from your location
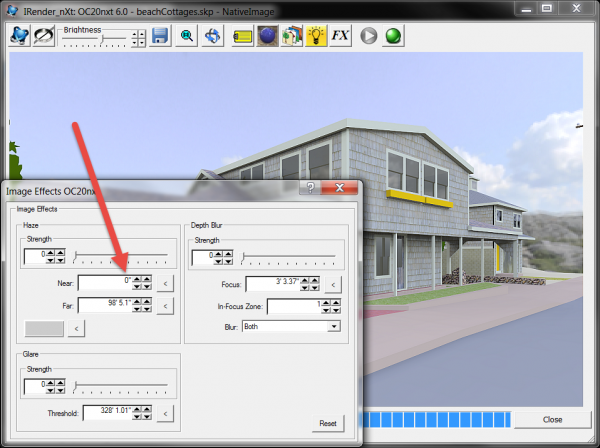
IRender nXt Rendering Settings Dialog
Do This: Set Near to 70'
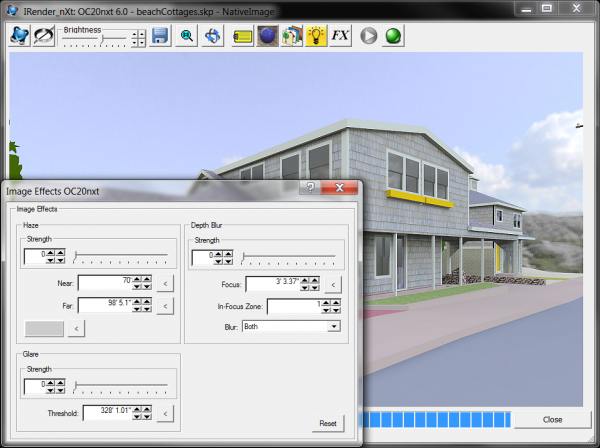
IRender nXt Image Effects Dialog
Do This: Find the Haze value slider

IRender nXt Image Effects Dialog
Do This: Slide to the right and watch the Haze develop in the rendering
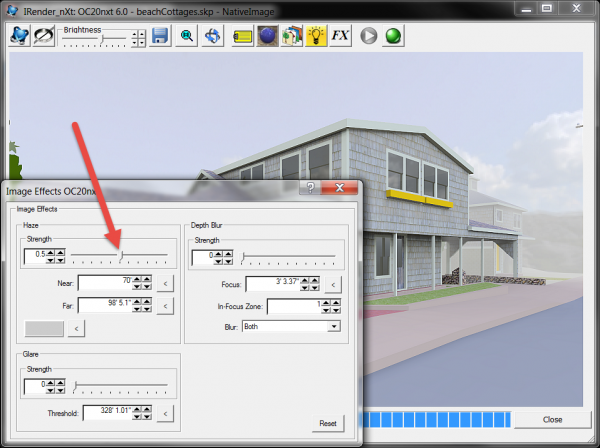
IRender nXt Rendering Settings Dialog
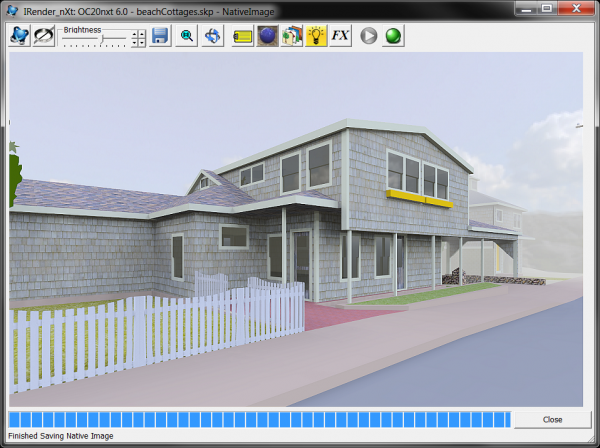
Cottage Rendering with HDRi sky, Window Reflections, and Haze
Summary of this Tutorial
In this IRender nXt tutorial we:
1) Opened a Render Plus Sample Model
2) Created our first rendering
3) Brightened the rendering with the Tone feature
4) Restored details with the Sharpen feature
5) Added a High Dynamic Range image (HDRi) sky to the rendering
6) Introduced Haze to the rendering with Image Effects